Add your first receipt
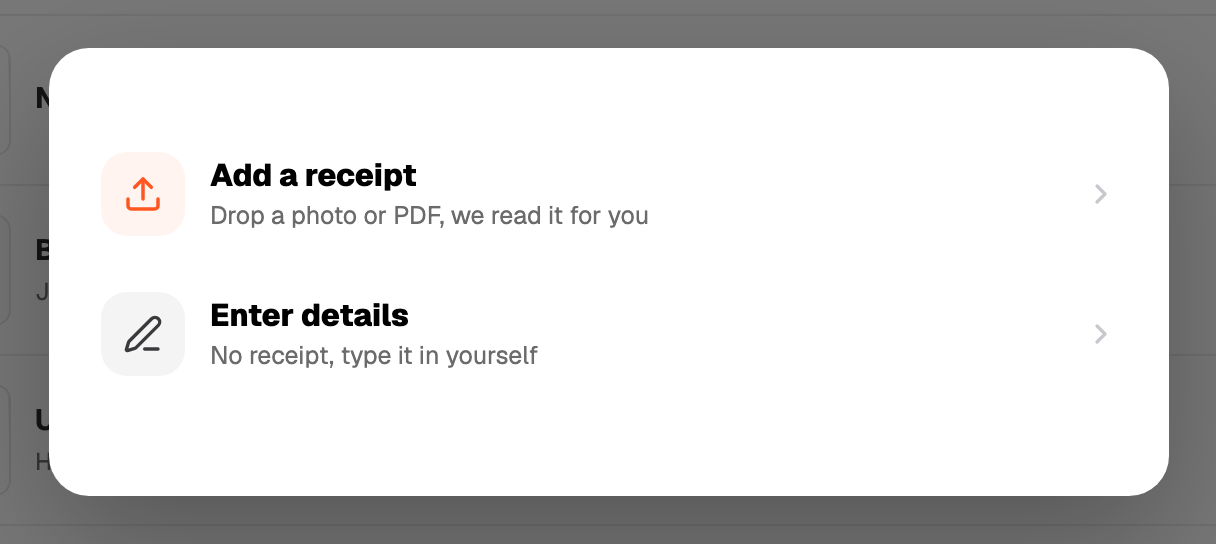
On the web
- 1Press + Add in the top bar and choose Expense.
- 2Drop a photo of the receipt on the dropzone, or click it to pick a file. JPG, PNG, HEIC and WEBP up to 10MB. You can also skip the photo and type the expense in.
- 3Wait a few seconds while it scans. Vendor, amount, date and a description fill in, with one suggested category.
- 4Check the fields. Fix anything the AI got wrong.
- 5Save.
On iPhone
Open the app, tap the camera, take the photo. Same review step, same save.
Reading the suggestion
A muted pill like AI · 92% means the AI is confident and shows its reason. An orange AI unsure, pick one means it could not decide. It leaves the category blank and shows its closest guess. You choose.
Nothing saves from the AI alone. You always confirm.
Not a receipt
If the photo is not a receipt (a selfie, a blank wall) you get an error and nothing is saved. The scan still counts against your monthly scans, so aim the camera first.